
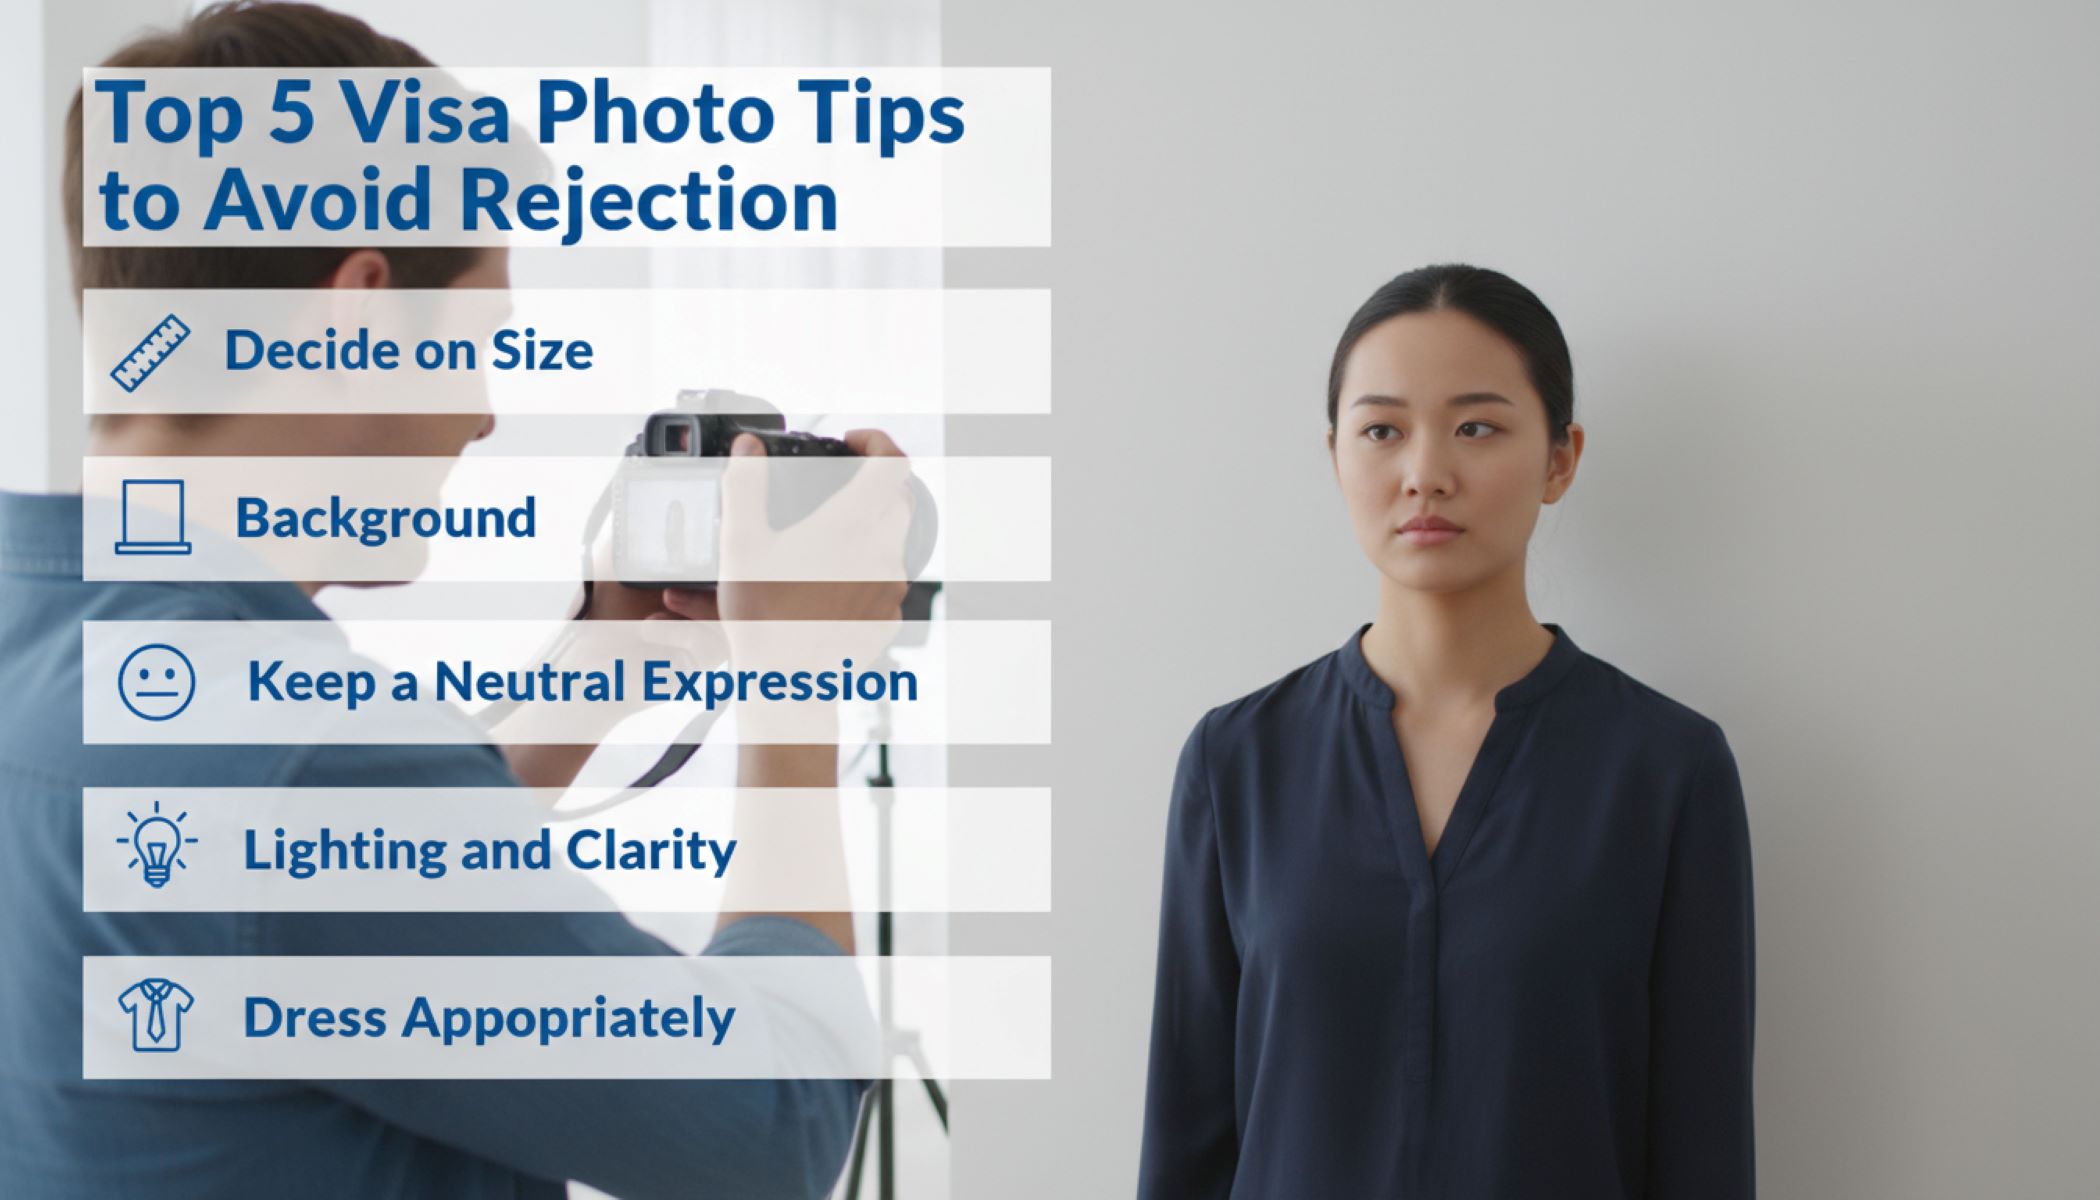
Visa applications can already be stressful enough, right? You’ve got forms to fill out, documents to collect, and deadlines to meet. The last thing you want is for something as simple as your visa photo to get rejected. Yet, believe it or not, thousands of applications get delayed or denied every year because of small mistakes in the photo. Imagine waiting weeks for approval, only to find out your picture didn’t meet the requirements. Frustrating, isn’t it? That’s why getting your visa photo right the first time is so important. In this guide, we’ll dive deep into the top five tips to make sure your photo passes without any hiccups. We’ll cover lighting, background, size, expression, and what to wear. Plus, I’ll give you practical examples, relatable advice, and some handy checklists so you can tick everything off before submitting. Let’s break it down step by step.
Why Visa Photos Get Rejected So Often
You might assume that taking a visa photo is a simple task, but in reality, it’s far more precise than snapping a casual selfie. Embassies and consulates follow strict international standards for facial identification, which means even the smallest deviation from the guidelines can result in rejection. A tiny shadow across your cheek, a slightly tilted head, or an uneven background can make a huge difference. Many applicants don’t realize that these rules exist to ensure consistent and accurate identification across millions of submissions worldwide, so what seems trivial to you is a serious matter to the authorities.
One of the most common reasons photos are rejected is the wrong size or resolution. Every country has specific dimensions and pixel requirements, and failing to adhere to these standards can cause the photo to be dismissed. For instance, a photo that is too large may be cropped incorrectly, cutting off part of your head, while a photo that’s too small might lack sufficient clarity for identification purposes. Digital submissions have made it easier to accidentally submit images that are compressed or blurry, further increasing the risk of rejection.
Another frequent issue involves the background and framing. Visa photos almost always require a plain, light-colored background, and any objects, patterns, or shadows can disqualify your image. Applicants often overlook small details like a doorframe, curtain, or even faint shadows from nearby objects. On top of that, the position of your head is crucial. Your face must be centered and occupy a certain proportion of the frame. Tilting your head slightly or looking away from the camera can result in the photo being rejected instantly, even if everything else looks perfect.
Lighting, expression, and accessories are additional factors that lead to high rejection rates. Uneven lighting can cast shadows on one side of your face, create glare on your skin, or highlight imperfections that aren’t allowed to be retouched. Facial expressions are strictly regulated — smiling, frowning, or raising eyebrows can invalidate your photo because it alters your natural appearance. Accessories like glasses, hats, or even large earrings that obscure facial features are also common reasons for rejection. Essentially, it’s not about looking glamorous or photogenic; it’s about strictly following a set of technical rules designed to create a universally readable image of your face.
Get the Size and Dimensions Right
| Country | Standard Size | Head Size in Frame | Background Color | Notes / Tips |
| USA | 2 x 2 inches (51 x 51 mm) | 1–1 3/8 inches from chin to top of head | Plain white or off-white | Ensure recent photo (last 6 months), neutral expression |
| UK | 35 x 45 mm | 29–34 mm from chin to crown | Light gray or cream | Avoid shadows, face must be centered and clearly visible |
| Schengen (EU) | 35 x 45 mm | 32–36 mm from chin to top | Light background (white, gray, light blue) | Digital photos must have high resolution (minimum 300 dpi) |
| Canada | 35 x 45 mm | 31–36 mm from chin to crown | White or light-colored | No glasses, head coverings only for religious purposes |
| India | 2 x 2 inches (51 x 51 mm) | 28–35 mm from chin to top | White or off-white | Avoid reflections or shadows, maintain neutral expression |
| Australia | 35 x 45 mm | 32–36 mm from chin to crown | Plain light-colored | Ensure face is clearly visible, even lighting recommended |
Pay Attention to the Background
The background of your visa photo is one of the most crucial elements that can make or break your application. Embassies and consulates require a plain, light-colored backdrop so that your face is clearly visible and easily identifiable. Even a subtle shadow, a patterned wall, or a slightly uneven background can result in rejection. To make sure your photo passes without any issues, here’s a detailed list of considerations, mistakes to avoid, and tips for creating the perfect background:
- Ensure the background is plain and light-colored, ideally white or off-white, without any patterns, textures, or gradients.
- Avoid walls painted in blue, gray, cream, or any dark colors, as many countries do not accept non-neutral backgrounds.
- Keep the area behind you completely free of objects, including furniture, doors, windows, plants, or decorations that could distract from your face.
- Watch out for shadows on the wall, as these can occur if you are standing too close to the background or if lighting is uneven.
- Use even lighting across the entire background to prevent one side from appearing darker than the other, which can affect the photo’s overall quality.
- Maintain a small distance between yourself and the wall, typically around 1–2 feet, to minimize shadowing and help create a clear separation between you and the backdrop.
- Avoid harsh natural or artificial light, which can cast unwanted shadows or create glare on the background, distorting your facial features.
- Consider using a white sheet, curtain, or professional backdrop if a plain wall is not available, making sure it is smooth and wrinkle-free.
- Ensure that the floor or other surfaces in the background are not visible, keeping the entire frame focused on your face and shoulders only.
- Double-check the background for reflections from mirrors, windows, or shiny surfaces that might create unintended distractions.
- Make sure the background is consistent and uniform in color, without patches, stains, or discoloration that could make the photo appear unprofessional.
- Avoid natural outdoor backgrounds such as trees, skies, or walls with bricks, as these are rarely acceptable for visa photos.
- When using natural light, position yourself so that the light illuminates your face evenly while keeping the background smooth and bright.
- Regularly review the photo during the shoot to ensure that no shadows, textures, or objects have crept into the frame
- Think of your background as a stage for your face, where nothing else should compete for attention. The cleaner and simpler the background, the higher the chances of your visa photo being approved.
Maintain a Neutral Expression
Your facial expression may seem like a minor detail, but it plays a critical role in whether your visa photo gets approved or rejected. Visa authorities prioritize a neutral, natural look because it ensures accurate identification across official documents. Smiling, frowning, or raising your eyebrows can distort your facial features, making it harder for officials to match your photo with your real-life appearance. Even a subtle grin or tilt of the head may appear different under varying lighting conditions or in digital processing, which is why following strict expression guidelines is essential.
Maintaining a neutral expression means keeping your mouth closed and your face relaxed. Your eyes should be fully open and directly facing the camera, ensuring the authorities can clearly see your features. Avoid tense muscles or exaggerated expressions, as these can create shadows or highlight facial distortions. Think of it as presenting your “official face” — calm, composed, and natural. This might feel unnatural at first, especially if you’re used to smiling in photos, but practicing in front of a mirror can help you achieve the perfect balance.
Many applicants make the mistake of thinking that a slight smile or casual glance is acceptable, but these small deviations can lead to rejection. A wide smile showing teeth or squinting eyes can alter the contours of your mouth and eyes, making identification more difficult. Similarly, tilting your head or raising your eyebrows can affect symmetry, which is critical in biometric identification processes used by many modern visa systems. Consistency is key: the photo should be an accurate representation of your neutral, everyday appearance.
Here’s a helpful way to visualize it: imagine you are at passport control and an officer is scanning your ID. The face in your photo should match exactly what the officer sees in person — no surprises, no funny faces, no distractions. By maintaining a calm, serious, and straightforward expression, you ensure your photo meets official requirements and avoids unnecessary delays or rejections. A neutral expression might seem simple, but it’s one of the most important rules for visa photo approval.
Focus on Lighting and Clarity
| Aspect | Best Practice | Common Mistakes | Impact on Photo | Tips / Solutions |
| Natural Lighting | Use indirect natural daylight, ideally from a window | Using dim indoor lighting or harsh direct sunlight | Shadows, glare, or washed-out features | Stand facing a window, avoid direct sun on face |
| Light Placement | Even light on both sides of the face | Overhead or side lighting causing shadows | Uneven skin tones, dark patches on face | Use multiple light sources or reflectors for balance |
| Shadow Management | Maintain a small distance from background | Standing too close to walls causing background shadows | Distracting shadows, possible photo rejection | Keep at least 1–2 feet from the wall |
| Camera Clarity | High-resolution, sharp image | Blurry, pixelated, or grainy photos | Features not identifiable, automatic rejection | Clean lens, use a steady hand or tripod |
| Color & Exposure | Correct exposure to show natural skin tones | Overexposed or underexposed images | Washed-out or dark appearance, non-compliant photo | Adjust camera settings or retake with better lighting |
Dress Appropriately
Choosing the right clothing and accessories for your visa photo is more important than many people realize. While there aren’t strict fashion rules, certain guidelines must be followed to ensure the photo is accepted. Your clothing should help your face stand out clearly against the background, and accessories should not obstruct your features. To help you prepare, here’s a detailed, comprehensive list of considerations for dressing appropriately in a visa photo:
- Wear solid-colored clothes that contrast well with a white or light background; darker shades like navy, black, or deep green usually work best.
- Stick to everyday attire — choose clothing you would normally wear in public rather than overly formal or flashy outfits.
- Opt for clothes with sleeves rather than tank tops or sleeveless shirts, which may appear unprofessional in the photo.
- Avoid white or very light-colored tops, as they can blend into the background and reduce the contrast needed for a clear, recognizable image.
- Do not wear bright patterns, busy prints, or logos, as these can distract from your face and may not be accepted by visa authorities.
- Avoid uniforms, unless it is religious attire that you wear daily; clothing that looks like official uniforms is generally not permitted.
- Refrain from wearing hats, caps, or head coverings unless they are required for religious reasons, and even then, ensure your full face is visible from chin to forehead.
- Remove glasses, including clear lenses, as many countries now prohibit them in visa photos to prevent reflections or glare that obscure the eyes.
- Avoid large earrings, shiny jewelry, or accessories that may reflect light or distract from your facial features.
- Do not use headphones, earphones, or hairbands that cover your forehead or obstruct your hairline.
- Ensure your hair is neat and does not cover your face; long bangs or stray hairs should be tucked away to keep your face fully visible.
- If wearing a religious head covering, make sure it does not obscure any part of your face and that your chin, cheeks, and forehead are fully visible.
- Keep the overall look simple and professional, focusing on your face as the main subject of the photo rather than your clothing.
- Avoid overly shiny or reflective fabrics, as they can create glare under lighting and interfere with photo clarity.
- Double-check yourself in a mirror or take a test photo to ensure your clothing and accessories do not interfere with the visibility of your facial features.