
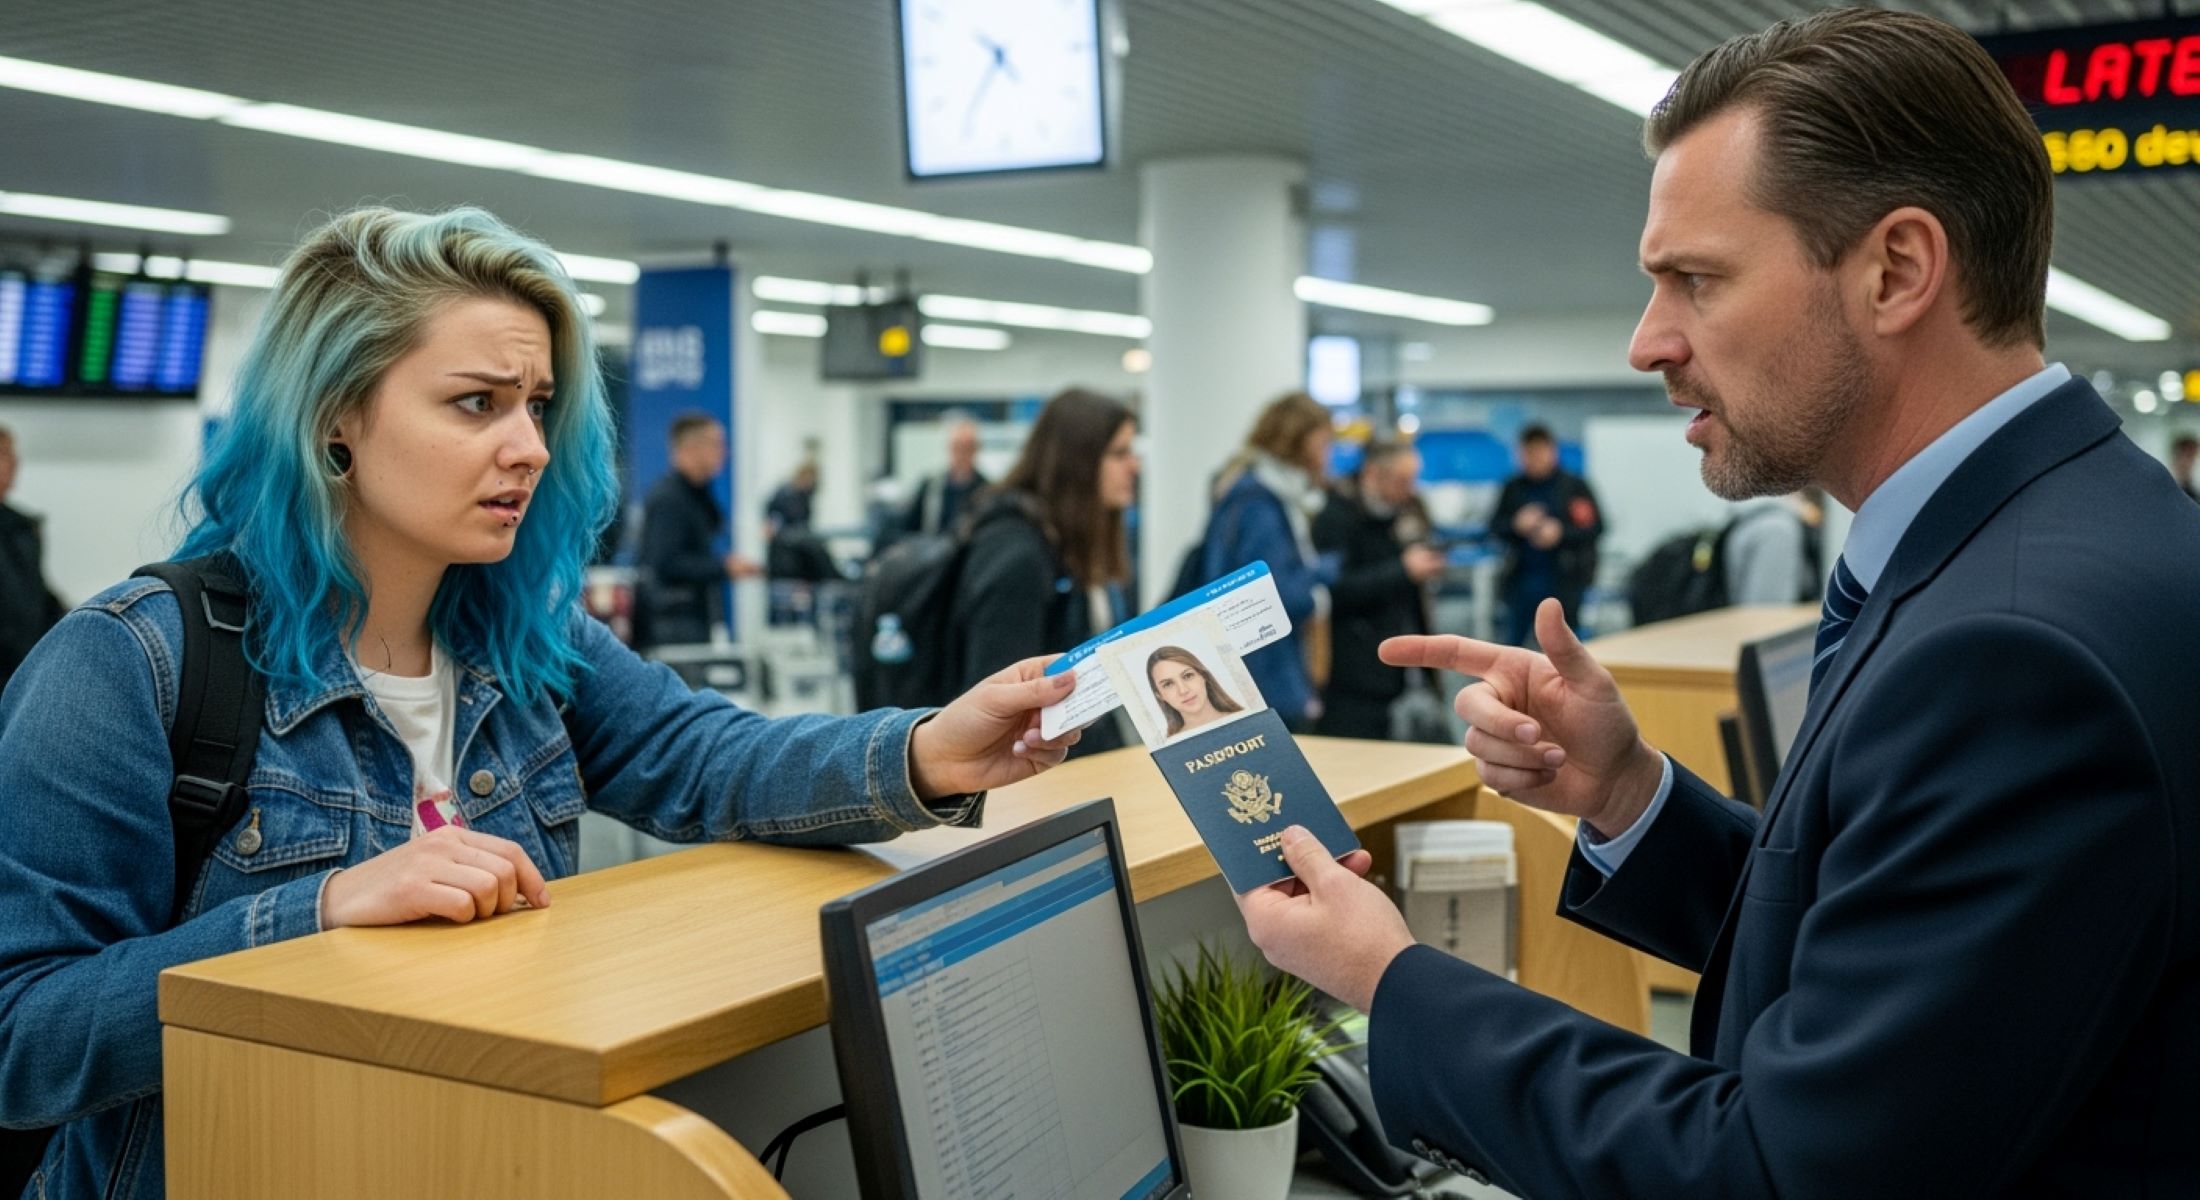
Let’s be real—your passport photo isn’t just a formality; it’s your identity when you travel. Imagine showing up at the airport with a photo that looks nothing like you. Not only will it cause delays, but it can also lead to rejection of your application. A fresh photo ensures your passport reflects how you look today, not five or ten years ago.
Understanding the Rules for Passport Photos
When it comes to renewing or applying for a passport, the photo you submit is more than just a formality—it’s a critical part of your identity verification. Passport authorities across the globe enforce strict standards for photographs, and even minor mistakes can result in rejection of your application. This means that before you even pick up your camera or phone, you need to understand exactly what is expected. A proper passport photo ensures smooth processing, prevents delays, and helps you avoid the hassle of resubmitting your documents.
One of the key points to remember is that the photo must be recent, generally taken within the last six months. This ensures that it accurately represents your current appearance. Additionally, the background plays a crucial role; a plain white or off-white background is required to avoid distractions and provide clear contrast with your face. Shadows, patterns, or any objects in the background can make the photo unacceptable. Passport authorities also discourage any kind of filters, heavy edits, or excessive makeup, as these can distort your natural features and make identification difficult.
Another essential requirement is the quality and clarity of the image. The photo should be high-resolution, sharp, and free from any blurriness or pixelation. This ensures that all facial features are clearly visible, including the eyes, nose, and mouth. Maintaining a neutral expression is equally important. Smiling, frowning, or exaggerated facial expressions are generally not permitted because they can change how your facial features are perceived, which could complicate identity verification.
Finally, size and format standards must be strictly followed. In the U.S., passport photos are typically 2×2 inches (51×51 mm), while many European and Asian countries require 35×45 mm images. Photos must be printed on quality matte or glossy photo paper to maintain durability and clarity. Following these guidelines carefully not only increases the chances of your application being accepted on the first try but also helps you avoid wasted time, money, and frustration.
When Should You Update Your Passport Photo?
Knowing when to update your passport photo can save you a lot of hassle and prevent delays in your travel plans. Here’s a detailed list of situations where you should definitely consider getting a new photo:
- Significant changes in appearance: If you’ve undergone noticeable changes such as weight loss or gain, cosmetic surgery, or a dramatic change in hairstyle, your old photo may no longer resemble you. Passport authorities need a photo that accurately reflects your current look.
- Changes in facial hair: Growing a beard, shaving a previously full beard, or drastically changing your facial hair style can make a big difference in how you’re recognized. Even subtle differences can sometimes cause issues at security checkpoints.
- Starting or stopping wearing glasses: If you’ve recently started wearing glasses or removed them, your facial appearance can change enough to require an updated photo. Some countries specifically require photos without glasses, so check the guidelines.
- Aging over time: If it’s been 5–10 years since your last passport photo, it’s generally a good idea to update it. Your facial features change naturally over time, and older photos may no longer be a reliable representation of your current look.
- Significant weight or health changes: Rapid weight loss, medical treatments, or conditions that alter your facial features can also necessitate a new photo.
- Major lifestyle changes: Things like hair dye, major scars, or noticeable changes in skin tone might mean your passport photo no longer accurately depicts you.
- Special requirements for children: Kids’ appearances can change quickly, so updating their passport photo every few years—or even more frequently for infants—is often necessary.
- Lost or damaged passport photos: If your previous passport photo was compromised in any way, it’s safer to provide a fresh image when renewing.
Steps to Update Your Photo During Renewal
| Step | What It Involves | Tips for Success | Common Mistakes to Avoid | Additional Notes |
| Check Renewal Guidelines | Visit your government’s passport authority website to see if you can renew by mail, online, or in person. | Confirm specific rules for your method of renewal, including deadlines and forms. | Assuming all countries follow the same rules or skipping this step. | Some countries may allow digital uploads, while others require physical photos. |
| Take a New Photo | Capture a new passport photo either at home or at a professional studio. | Use good lighting, a plain background, and a neutral expression. Take multiple shots to pick the best one. | Using filters, low-quality cameras, or improper lighting. | Professional studios often guarantee that your photo meets official standards. |
| Attach the Photo | Include the new photo with your renewal application, either by attaching a printed copy or uploading digitally. | Follow instructions exactly, ensuring the photo is placed correctly and not damaged. | Uploading the wrong format or attaching a crooked photo. | Digital submissions usually require JPEG or PNG files, meeting size specifications. |
| Submit Your Renewal | Send in your passport renewal application with the updated photo. | Double-check the quality and compliance of your photo before sending. | Submitting without reviewing or using an outdated photo. | Keep a copy of the photo and application for your records. |
| Follow-Up | Monitor your application status and respond if additional information is requested. | Keep contact details handy in case of queries from the passport office. | Ignoring notifications or deadlines from the authorities. | Some offices provide tracking numbers to follow the progress of your renewal. |
Taking a Passport Photo at Home
Not everyone wants to spend money at a professional studio, and thanks to modern smartphones and cameras, you can capture a passport-ready photo right at home. The key is preparation and attention to detail. While it may seem simple, a good home setup can make all the difference between a rejected photo and one that passes instantly. By carefully controlling your environment, lighting, and camera positioning, you can produce a clear and professional-looking image without any extra costs.
The first step is setting up your space. Choose a plain white or off-white wall, or hang a smooth white sheet to create a clean, distraction-free background. Lighting is crucial: natural light near a window works best, but you can also use two soft lamps to evenly illuminate your face. Avoid harsh shadows behind or on your face, as these can make the photo non-compliant. The goal is a soft, even light that clearly shows your facial features.
Next, consider camera positioning. Place the camera at eye level to avoid distorted angles, and keep a distance of about four to six feet from your face. If possible, use a tripod or stable surface to prevent shaking, or ask someone else to take the photo. Proper alignment ensures that your entire face is visible, centered, and proportioned correctly within the frame.
Finally, focus on your pose and expression. Stand or sit with your shoulders straight and face directly forward. Maintain a neutral expression with your mouth closed, and ensure your eyes are fully open and clearly visible. Avoid tilting your head or leaning, as even slight misalignment can make your photo unacceptable. With careful attention to these details, you can take a home passport photo that meets official standards and avoids delays in your application.
Avoiding Common Mistakes
Ensuring your passport photo meets official standards is crucial, as even minor errors can lead to rejection. Here’s a detailed list of common mistakes to avoid when taking or submitting your photo:
- Excessive smiling or showing teeth: Passport photos require a neutral expression. Smiling widely, grinning, or showing teeth can distort your facial features and may result in rejection.
- Wearing sunglasses, hats, or headgear: Accessories that cover or partially obscure your face are not allowed. This includes hats, caps, sunglasses, or any other item that alters how your face appears.
- Wearing uniforms or clothing that resembles uniforms: Certain attire, especially military, law enforcement, or other uniforms, can lead to photo rejection. Stick to plain, solid-colored clothing that contrasts subtly with the background.
- Using filters or editing apps: Digital enhancements, including smoothing, color correction, or any artistic filters, are not permitted. Altering your natural appearance can make your photo non-compliant.
- Background issues: A non-uniform background, shadows, patterns, or objects behind you can disqualify your photo. The background must be plain and light-colored, ideally white or off-white, with no distractions.
- Crooked or misaligned photos: Tilting your head, leaning, or having the camera angle off-center can make your photo unacceptable. Your face should be centered and straight in the frame.
- Poor lighting or shadows on the face: Harsh shadows, uneven lighting, or backlighting can obscure facial features. Even minor shadows on the face or background can result in rejection.
- Low resolution or blurry images: Photos must be sharp and in focus. Grainy, pixelated, or blurred images will not be accepted.
- Obstructed facial features: Hair covering the eyes, eyebrows, or any part of the face, as well as hands or objects in the frame, will make your photo invalid.
- Incorrect size or format: Using the wrong dimensions or printing style (glossy vs. matte) can also lead to rejection. Always check your country’s official requirements before submitting.
Printing Your Passport Photo
| Step | What It Involves | Tips for Success | Common Mistakes to Avoid | Additional Notes |
| Choose Photo Paper | Select the right type of paper for printing your photo. | Use high-quality matte or glossy photo paper to ensure clarity and durability. | Using regular printer paper or low-quality paper that bends or smudges. | Matte paper reduces glare, while glossy paper enhances color; both are generally accepted. |
| Select Printing Location | Decide where to print the photo. | Use professional photo centers, drugstores, or certified online printing services for guaranteed quality. | Printing at home without proper equipment or resolution may lead to poor-quality results. | Professional centers often offer standard passport photo sizes for your country. |
| Set Correct Dimensions | Ensure the photo matches official size requirements. | Confirm the size required by your country (e.g., 2×2 inches for the U.S., 35×45 mm for India). | Printing at incorrect dimensions or cropping improperly. | Use rulers or photo templates at printing centers to ensure accuracy. |
| Check Image Quality | Verify that the printed photo maintains clarity and color fidelity. | Inspect for sharpness, color accuracy, and even lighting before submission. | Accepting a blurry or faded print. | Compare the print with the digital original to ensure consistency. |
| Handle Photos Carefully | Protect the photo from damage before submission. | Keep photos in a clean envelope or folder to prevent bending, smudging, or scratching. | Touching the surface with dirty fingers or folding the photo. | Store extra copies as backups in case of damage or loss. |
Digital Photo Submissions
In today’s digital age, many countries now allow passport applicants to submit photos online, which can save time and make the renewal process more convenient. Digital submissions eliminate the need for printing and physically attaching a photo, but they come with their own set of requirements. It’s important to follow the guidelines closely to ensure your application is accepted without delays.
When submitting a digital photo, the first step is to save your image in an acceptable file format. Most authorities require JPEG or PNG files, as these formats maintain high-quality resolution while keeping file sizes manageable. Avoid using uncommon or compressed formats that could degrade the image quality or prevent the system from reading your file.
Next, pay attention to pixel size and dimensions. Different countries have specific requirements—for example, in the U.S., a standard passport photo should be 600×600 pixels. Uploading a photo that is too small or too large can result in rejection. Using image editing software to crop and resize correctly, without altering your facial features, is essential for compliance.
Finally, file size matters. Most passport authorities set a maximum limit, typically between 1 and 2 MB, to ensure the system can handle the upload without errors. Oversized files may fail to upload or be automatically rejected. Checking both the pixel dimensions and file size before submission helps guarantee that your digital photo meets all official standards and speeds up your passport renewal process.