
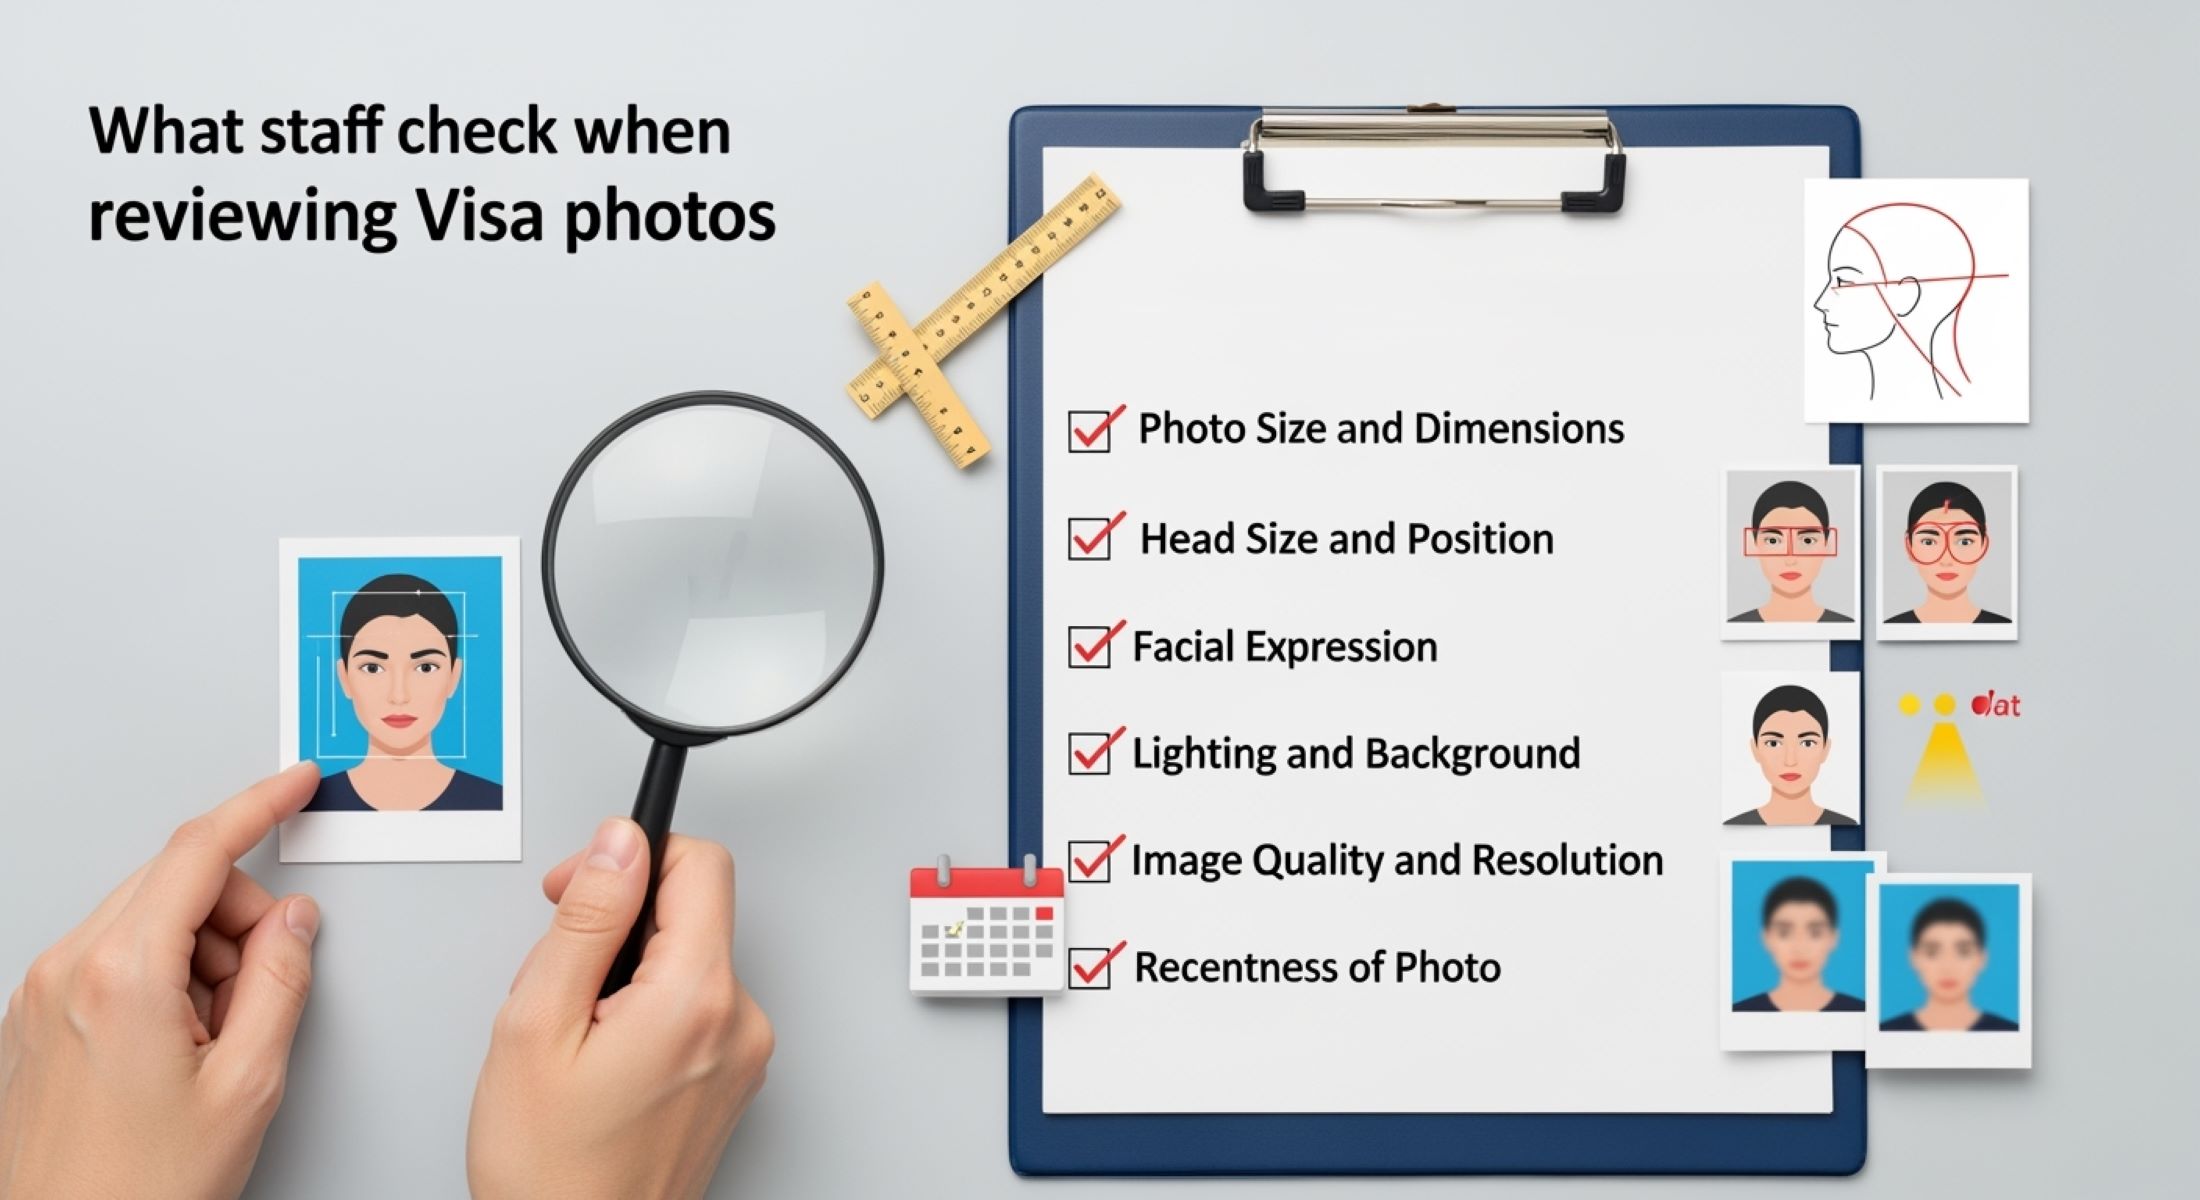
Applying for a visa can already feel like a marathon—forms, fees, and waiting times. But did you know that one of the biggest reasons applications get delayed or rejected is something as simple as a photo? That’s right. Visa staff take photo checks very seriously. After all, your photo is a critical piece of biometric identification. If it doesn’t meet the exact standards, your application can get bounced back, costing you both time and money. Let’s dive deep into what staff check when reviewing visa photos and how you can get yours right the first time.
Why Visa Photos Matter More Than You Think
Your visa photo is far more than just a picture; it’s a critical piece of your identity that officials use to verify who you are. When you submit a visa application, the consular staff rely heavily on that image to match you with your official documents. Even minor inconsistencies, like a tilted head or an uneven lighting, can raise red flags and cause delays in processing. Essentially, your photo acts as the first checkpoint for your application, and getting it right is non-negotiable.
Beyond identification, visa photos play a key role in security and fraud prevention. Immigration authorities use these images to compare with past records and cross-check against databases for stolen or fraudulent documents. A blurry or poorly taken photo can compromise these security measures, making it difficult for officials to trust the application. In a world where identity verification is crucial, your photo carries far more weight than you might expect.
Moreover, visa photos are used for biometric data collection, which is becoming standard in many countries. This includes facial recognition technology, which relies on precise proportions and clear visibility of facial features. If your photo doesn’t meet these technical standards, it could prevent the system from accurately recognizing you, potentially leading to rejections or additional scrutiny at the border.
Finally, the psychological impact of a properly taken photo shouldn’t be underestimated. A clear, well-lit image conveys professionalism and attention to detail, which can positively influence how staff perceive your application. In contrast, a casual or poorly prepared photo can make your application seem careless or rushed, inadvertently causing unnecessary complications. In short, taking the time to get your visa photo right is an investment in a smoother, faster, and more reliable application process.
The Standard Checklist Staff Use
When consular or embassy staff review your visa photo, they follow a strict, standardized checklist to ensure every image meets official requirements. These guidelines are based on international standards, such as those from the International Civil Aviation Organization (ICAO), and they leave very little room for error. Staff don’t guess—they methodically verify each element to prevent mistakes that could delay or reject your application. Here’s a detailed breakdown of what they typically check:
- Photo Size and Dimensions: Staff confirm that your photo matches the exact measurements required by the country you are applying to. This includes the width, height, and aspect ratio. Even a small deviation can result in rejection. They often use templates or grids to measure head size and placement precisely within the frame.
- Head Size and Position: Your head must occupy a specific portion of the photo, usually between 70%–80% of the frame. Eyes should be level and approximately two-thirds up from the bottom of the photo. Your face must be centered, with no tilting or leaning, to ensure proper identification.
- Facial Expression: Visa staff look for a neutral, relaxed expression. Smiling, frowning, or exaggerated expressions are not allowed. Your mouth must be closed, eyes fully open, and gaze directed straight at the camera. The goal is a natural, straightforward appearance that can be used reliably for identification.
- Lighting and Background: Proper lighting is crucial. Staff check that your face is evenly lit with no shadows or glare. The background must be plain, usually white or off-white, with no patterns, objects, or other people visible. Shadows, reflections, or complex backgrounds are immediate reasons for rejection.
- Clothing and Accessories: Your clothing should be simple and contrast with the background. Uniforms, camouflage, or costumes are prohibited. Accessories like glasses are often banned unless medically necessary, hats or head coverings are only allowed for religious reasons, and jewelry must be minimal and non-reflective.
- Image Quality and Resolution: Photos must be sharp, clear, and high resolution. Blurry, pixelated, or low-quality images are rejected instantly. Staff check for proper contrast, brightness, and focus to ensure all facial features are clearly visible and identifiable.
- Digital Alterations: Staff examine whether any digital editing or filters have been applied. Excessive airbrushing, background manipulation, or alteration of facial features is strictly prohibited. Photos must reflect your natural appearance to avoid misrepresentation.
- Age-Appropriate Requirements: For children and infants, staff check that facial features are clearly visible and proportionally aligned. Parents’ hands or objects must not appear in the frame, and eyes should be open with neutral expressions.
- Consistency with Other Documents: The photo must match your passport and other identity documents. Staff often cross-check for consistency in facial features, hair, and general appearance to prevent identity mismatches.
- Recentness of Photo: Staff verify that the photo is recent, typically taken within the last six months, to ensure it accurately represents your current appearance. Old photos can be a reason for immediate rejection.
Photo Size and Dimensions
| Country | Standard Photo Size | Head Size / Proportion | Background Color | Photo Age Requirement |
| USA | 2 x 2 inches (51 x 51mm) | Head 1–1 3/8 inches (25–35mm) | Plain white or off-white | Taken within last 6 months |
| Schengen Area | 35 x 45mm | Head 32–36mm from chin to crown | Light grey or white | Taken within last 6 months |
| UK | 35 x 45mm | Head 29–34mm from chin to crown | Cream or light grey | Taken within last 6 months |
| Canada | 35 x 45mm | Head 31–36mm from chin to crown | White | Taken within last 6 months |
| Australia | 35 x 45mm | Head 32–36mm from chin to crown | White or light grey | Taken within last 6 months |
| India | 35 x 45mm | Head 32–36mm from chin to crown | White | Taken within last 3 months |
| Japan | 35 x 45mm | Head 32–36mm from chin to crown | White | Taken within last 6 months |
| UAE | 4 x 6 cm (40 x 60mm) | Head 70–80% of frame | White or light grey | Taken within last 6 months |
| China | 33 x 48mm | Head 28–33mm from chin to crown | Light blue or white | Taken within last 6 months |
Head Size and Position
One of the most critical aspects staff check in a visa photo is the size and position of your head within the frame. Your face needs to occupy the correct proportion of the photo, typically between 70%–80% of the total image. If your head is too small, it can make identification difficult; too large, and it may look cropped or distorted. Staff are trained to notice even slight deviations, and any error here can lead to automatic rejection.
Equally important is the alignment of your eyes. They should be level and positioned approximately two-thirds of the way up from the bottom of the photo. This placement ensures that your facial features are captured accurately and that your face appears natural and proportionate. Misaligned eyes, whether too high or too low, can make your photo appear unprofessional and may prevent biometric systems from recognizing you properly.
Centering is another non-negotiable factor. Your head must be directly in the middle of the frame with no tilting, leaning, or rotation. Staff often imagine an invisible box around your face to gauge whether it’s perfectly centered. Even a slight shift can throw off proportions and symmetry, which is crucial for both visual inspection and digital recognition systems.
Finally, the overall positioning should reflect a balanced and neutral appearance. Your chin, forehead, and jawline must all be fully visible within the frame. Cropping too closely or leaving excessive empty space around your head can create problems during the review. In essence, staff want to see a properly framed, proportionate, and centered head that matches the technical and biometric standards set for visa photos.
Facial Expression and Pose
When reviewing visa photos, staff pay close attention to your facial expression and overall pose. They are not looking for personality or creativity—they are checking for a neutral, natural appearance that can be used for identification. Here’s a detailed list of what they examine:
- Neutral Expression Required: Your face should show a calm, relaxed demeanor without smiling, frowning, or exaggerated expressions. The goal is a natural appearance that clearly represents your features.
- Mouth Closed: Your lips must remain closed with no teeth visible. Open mouths or biting lips are considered inappropriate and can cause photo rejection.
- Eyes Open and Visible: Eyes should be fully open, clearly visible, and not obscured by hair, glasses glare, or shadows. Staff ensure that both eyes are aligned and positioned correctly for identification purposes.
- Direct Gaze at Camera: Your head must face forward with eyes looking straight into the camera. Looking sideways, up, or down is unacceptable and often flagged immediately.
- No Squinting or Wide-Eyed Looks: Expressions that distort the natural shape of your eyes, such as squinting or overly wide-eyed stares, are rejected. Eyes must appear natural and relaxed.
- Head Position and Alignment: Your head should be straight, not tilted, rotated, or leaning to one side. Symmetry is important for visual and biometric identification.
- Facial Feature Visibility: All key facial features—including forehead, eyes, nose, cheeks, and jawline—must be fully visible. No hair, hands, or other objects should block your face.
- Natural Skin Tone and Lighting Reflection: Your facial features should appear clear with accurate skin tone, avoiding shadows or harsh lighting that could alter your expression or distort facial details.
- Consistent Pose Across Documents: Staff often compare your photo with existing identification or passport images to ensure the expression and pose are consistent, which is critical for verification purposes.
Lighting and Background
| Country | Lighting Requirements | Background Color | Shadows / Reflections Rules | Additional Notes |
| USA | Even, natural or studio lighting | Plain white | No shadows on face or background | Avoid glare from glasses or shiny surfaces |
| Schengen Area | Soft, uniform lighting | Light grey or white | No shadows behind or on the face | Avoid flash reflections or uneven lighting |
| UK | Balanced, front-facing lighting | Cream or light grey | Shadows must be eliminated | Ensure no reflective surfaces near face |
| Canada | Bright but soft, natural-looking | White | No shadows, no reflections | Background must be plain and consistent |
| Australia | Even, diffused lighting | White or light grey | Shadows must be minimized | Avoid colored or patterned backgrounds |
| India | Natural or bright artificial lighting | Plain white | Face must be fully visible without shadows | Background must be uniform, no textures |
| Japan | Soft, uniform front lighting | White | Eliminate all facial and background shadows | Avoid overexposed areas that wash out features |
| UAE | Balanced, no harsh lighting | White or light grey | Shadows must be absent | Ensure clear visibility of all facial features |
| China | Even lighting without glare | Light blue or white | No shadows, no dark spots | Avoid reflections and bright glares on face |
Clothing and Accessories
Your choice of clothing plays a surprisingly important role in whether your visa photo gets approved. Staff are trained to spot anything that could distract from your face or make identification difficult. Dark-colored, plain clothing that contrasts with the background is usually preferred, as it helps define your features clearly. Bright, patterned, or reflective clothing can interfere with lighting and draw attention away from your face, which can lead to rejection.
Uniforms, costumes, and camouflage are strictly prohibited in most visa photos. These types of clothing can suggest affiliation with a group or organization, which is not allowed for standard visa identification. Staff are particularly attentive to subtle hints of uniforms, such as logos, insignias, or military-style apparel, because these can create security concerns and complicate identity verification.
Accessories are also carefully scrutinized. Glasses are generally banned unless required for medical reasons, as they can create glare or obscure the eyes. Hats and head coverings are allowed only for religious or medical purposes, and even then, they must not cover any part of the face. Jewelry should be minimal and non-reflective to avoid interfering with the lighting or the clear visibility of facial features.
Overall, the goal is to present a clear, unobstructed view of your face. Even minor deviations from these rules can trigger staff to flag your photo for rejection. Paying attention to clothing and accessory guidelines ensures that your photo meets the standards and reduces the risk of delays or resubmissions.