
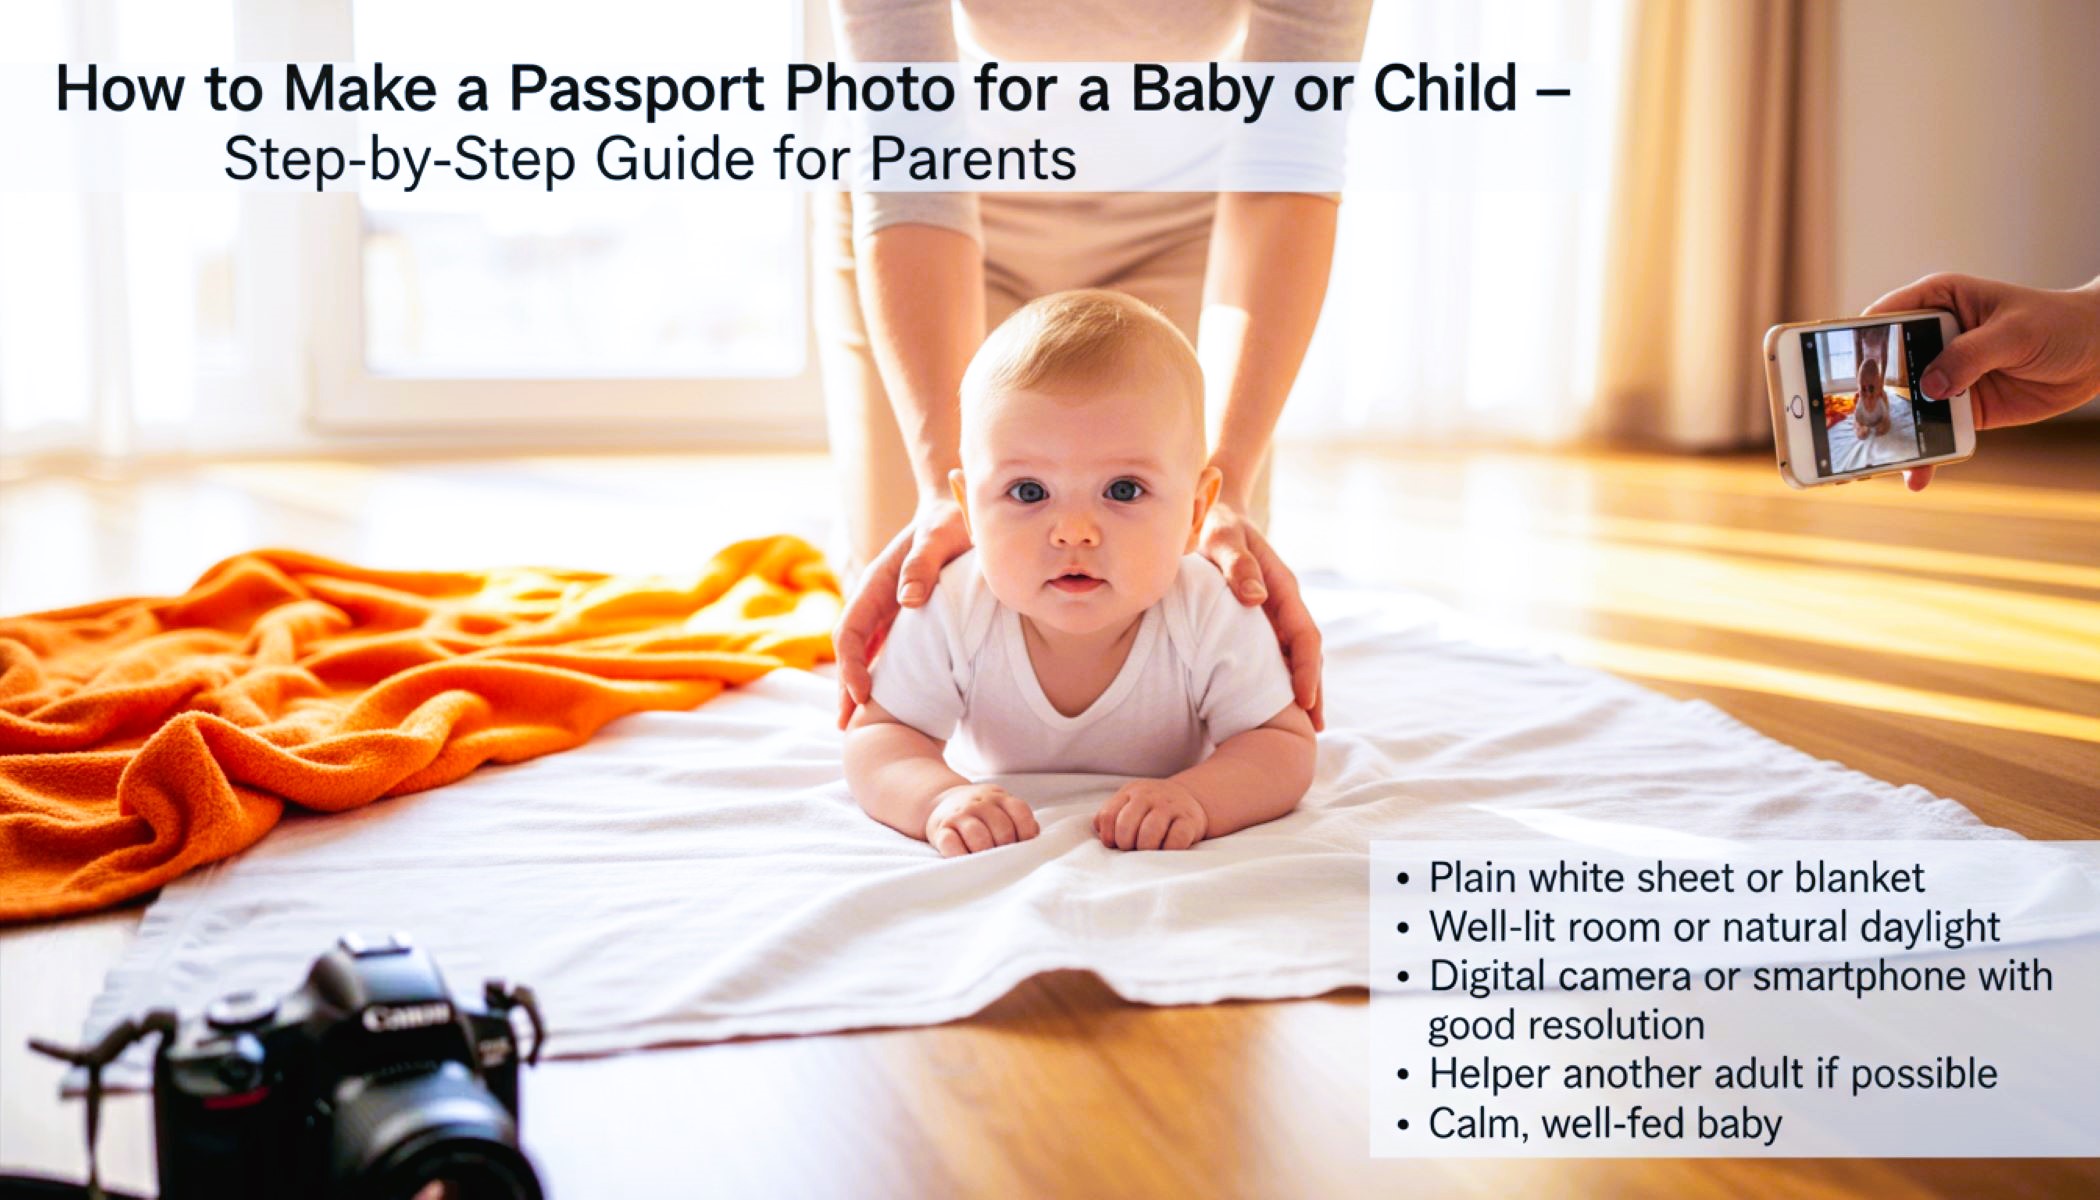
Traveling with your little one is exciting, but before you pack the diaper bag and stroller, there’s one thing you can’t skip—getting a passport size photo for your baby or child. Passport photo makers can help you with this. If you’ve ever tried to get a baby to sit still, you already know it’s no small task. But don’t worry—I’ll walk you through every step in this guide so you can get a perfect passport size photo without the stress.
Why Baby Passport Photos Are Different
Getting a passport photo for a baby or young child is a completely different ballgame compared to adult passport photos. With adults, you can give clear instructions: look straight, don’t smile too much, keep your head straight, and make sure the lighting is perfect. Babies, however, don’t follow instructions—they cry, squirm, blink, and sometimes fall asleep mid-shot. This makes capturing a clear, compliant photo far more challenging. Governments understand this reality, which is why the rules for baby passport photos are slightly more flexible than for adults.
For example, babies aren’t required to stare perfectly into the camera. A slight side glance or an uncooperative gaze is acceptable as long as their full face is visible and identifiable. This flexibility acknowledges that infants are naturally fidgety and can’t hold a fixed expression for more than a few seconds. The goal is to ensure that the child can be recognized, not to achieve a perfect modeling pose or flawless head alignment.
Another key difference is how expressions are treated. While adults usually need to maintain a neutral expression, babies can have slightly open mouths, small smiles, or even subtle grimaces. The main concern is that the eyes are open and the face is not obscured by hands, blankets, pacifiers, or toys. The photo must still allow officials to clearly identify the child, but it doesn’t have to be a serious, stiff look that you’d see in an adult passport photo.
Finally, parents must understand that they cannot appear in the photo themselves. This rule often surprises first-time parents, because holding a baby securely usually requires hands. However, any part of a parent’s body visible in the photo can lead to rejection. There are safe ways to position a baby, like laying them on a plain white sheet or using a car seat covered with a white blanket, to keep the child supported while keeping the parent completely out of the frame. Think of baby passport photos as purely functional—they exist to identify the child rather than capture a portrait—so flexibility and practicality are the keys to success.
Before Diving into How to Actually Take the Picture, Let’s Look at the General Rules Most Countries Follow
When it comes to passport photos for babies and children, every country has its own guidelines, but there are some common standards that you should always keep in mind. Following these rules carefully can save you from frustrating rejections and delays. Here’s a comprehensive list of the most important considerations:
- Size of the Photo – The dimensions of the passport photo are critical. In the U.S., the standard size is 2×2 inches, while in many European countries, the U.K., and India, the size is usually 35×45 millimeters. Make sure to check the exact size required by your country because even small deviations can lead to the photo being rejected.
- Background Requirements – The background must be plain and free of any patterns, textures, or objects. White or off-white backgrounds are universally preferred. Shadows behind the baby or child are not acceptable. A clean, neutral background ensures that the focus remains on the child’s face for identification purposes.
- Face Visibility – The child’s entire face must be fully visible. Eyes should ideally be open, though slight flexibility is sometimes allowed for very young infants. The facial features should be clearly distinguishable without any obstructions such as hair, hats, or toys. The goal is clear identification, so no part of the face can be covered.
- Expression Guidelines – While adults are often required to have a neutral expression, babies and young children are treated a little more leniently. A neutral expression is preferred, but a slightly open mouth or minor expressions are acceptable. Smiling or frowning is not mandatory, but the child should not have their face completely hidden or turned away from the camera.
- Head Position – The head should be centered and straight. A slight tilt may be acceptable for infants who cannot fully control their posture, but the head should remain within the frame and properly aligned for identification purposes.
- Clothing Requirements – Babies should wear normal, everyday clothing. Uniforms, costumes, or fancy dress outfits are generally not allowed. Avoid anything that could obscure the child’s neck, shoulders, or facial features. Simple clothing that contrasts with the white background works best.
- Props and Accessories – Nothing should appear in the photo that could obstruct the child’s face or confuse identification. This includes toys, pacifiers, hats, headbands, or other props. Even if your little one looks adorable in a tiny bear hoodie, it might cover part of the head or create shadows, which will likely result in the photo being rejected.
What You’ll Need Before Taking the Photo
| Item | Purpose | Tips for Use | Common Mistakes to Avoid | Why It Matters |
| Plain white sheet or blanket | Background for the photo | Lay flat on the floor or over a chair; ensure no wrinkles or patterns | Using colored or patterned sheets; shadows on background | Keeps focus on the baby’s face and meets passport requirements |
| Well-lit room or natural daylight | Proper lighting | Place baby near a window with soft, indirect sunlight; avoid harsh overhead lights | Dim rooms or direct flash; shadows on the face | Ensures facial features are clearly visible and prevents shadows |
| Digital camera or smartphone with good resolution | Capturing a clear, sharp image | Use high-resolution settings; steady the camera or use a tripod | Low-quality cameras; shaky hands; blurry images | Sharp, high-quality photos are required for official passport approval |
| Helper (another adult if possible) | Assistance with positioning | One person can support the baby while the other takes photos | Trying to do it alone with a squirming baby | Makes positioning easier and keeps the baby safe while taking multiple shots |
| Calm, well-fed baby | Ensures cooperation | Take photos after feeding and nap; choose a time when the baby is relaxed | Trying to photograph a hungry or sleepy baby | Reduces fussiness and increases chances of getting a good photo |
Pick the Right Time
Timing is one of the most critical factors when capturing a passport size photo for your baby. Babies are notoriously unpredictable—they might be perfectly happy one minute and suddenly fussy the next. To make the process easier, it’s best to photograph your little one during a period when they are calm and comfortable. Most parents find that the window shortly after a nap and feeding is ideal. At this time, the baby is well-rested, content, and less likely to cry or squirm during the session, which significantly improves the chances of getting a photo accepted by the passport office.
Trying to take a photo when a baby is tired or hungry can turn a simple task into a stressful ordeal. A cranky, sleepy baby often moves unexpectedly, closes their eyes, or fusses, making it extremely difficult to capture a clear and compliant image. By choosing the right time, you reduce frustration for both yourself and the child. Even when using a reliable passport photo maker app or service, a cooperative baby ensures the digital process is seamless and less prone to errors or rejected submissions.
It’s also important to avoid photographing your baby late in the evening or right before bedtime. While it might seem convenient, a sleepy baby can resist positioning, yawn repeatedly, or even fall asleep mid-photo, creating additional challenges. Planning your session for a time when the baby is alert and playful can make the difference between a successful photo and a frustrating redo. A calm, happy baby will sit more naturally and allow you to focus on achieving the correct lighting, background, and framing without constant interruptions.
Finally, keeping the session short and flexible is essential. Babies have limited patience, so even during the optimal window, you may need to take several quick shots rather than a prolonged session. Having a passport photo maker on hand—whether a smartphone app or an online service—can speed up the process, allowing you to quickly adjust, crop, and finalize the photo once it’s taken. The key is preparation and timing: when you choose the right moment, taking a compliant and high-quality passport photo for your baby becomes much more manageable and stress-free.
Set Up the Background
Setting up the background is one of the most important steps in capturing a proper passport size photo for your baby or child. A clean and neutral background ensures that the baby’s facial features are clearly visible and prevents the photo from being rejected by the passport office. Here’s a comprehensive list of tips and considerations for setting up the perfect background:
- Choose a Plain White Surface – The background should be completely plain and free of any patterns, textures, or objects. White or off-white surfaces are ideal because they provide contrast against your baby’s clothing and skin, making the face the main focus of the photo.
- Ensure There Are No Shadows – Shadows on the background or the baby’s face can make the photo non-compliant. To avoid shadows, make sure the light source is soft and evenly distributed. Avoid placing the baby directly under harsh overhead lighting, which can create unwanted dark areas.
- Lay Your Baby on a White Sheet – For infants who cannot sit, place a plain white sheet or blanket flat on the floor or bed. Make sure the sheet is smooth with no wrinkles. Take the photo from directly above to capture the baby’s face centered and fully visible.
- Use a White Wall for Upright Babies – If the baby can hold their head up or is a toddler who can sit, a plain white wall can be used as a background. Position the baby against the wall and ensure there are no objects, shadows, or distractions behind them.
- Cover Chairs with White Fabric for Toddlers – For toddlers who can sit on a chair but not stand still, cover the chair with a plain white cloth. This eliminates distractions and ensures the child’s full face is visible. Make sure the cloth is secure and wrinkle-free to avoid shadows.
- Avoid Props or Toys in the Background – Do not place toys, blankets, or other items in the background, even if they help the baby stay calm. Any extra items can obscure facial features or cause the photo to be rejected.
- Check the Background in the Camera Frame – Before taking the picture, look through the camera or smartphone viewfinder to ensure the background is entirely plain, smooth, and well-lit. Any irregularities can ruin the photo or require retakes.
- Use a Consistent Background for Multiple Photos – If taking several shots to get the best one, keep the background consistent. This ensures that all photos maintain official compliance and reduces the chances of needing to retake them.
Lighting is Everything
| Lighting Element | Purpose | Tips for Use | Common Mistakes to Avoid | Why It Matters |
| Natural Window Light | Provides soft, even illumination | Position your baby near a window with indirect sunlight; avoid direct sun | Placing the baby in direct sunlight or shadows | Creates a clear, well-lit photo without harsh shadows |
| Overhead Lighting | Supplements light if natural light is insufficient | Use as secondary light source, not the main source | Relying solely on overhead lights that cast shadows on the face | Prevents dark areas that obscure facial features |
| Soft Lamps from Both Sides | Balances indoor lighting | Place lamps on either side of the baby for even brightness | Using only one side, creating uneven lighting or shadows | Ensures the baby’s face is evenly illuminated |
| Avoid Flash | Prevents glare and red-eye | Turn off camera flash or adjust settings | Using direct flash that reflects off eyes or background | Maintains natural skin tone and avoids photo rejection |
| Check for Shadows | Ensures compliance with passport rules | Look through camera viewfinder to confirm no shadows behind or on the baby | Ignoring shadows caused by furniture or blankets | A shadow-free background is required for official approval |
Positioning Your Baby
Positioning your baby correctly is one of the trickiest parts of capturing a compliant passport size photo. Newborns, infants, and toddlers all have different capabilities, so the approach must be tailored to their developmental stage. For newborns who cannot hold their head upright, the most effective method is to lay them flat on a plain white sheet. Photographing from above ensures that the face is fully visible and centered, while also keeping the baby safe and supported. This simple setup avoids any distractions and gives the passport photo the clean, neutral background required by authorities.
For infants who are a little older and can sit with support, using a car seat or similar structure draped with a white blanket works well. This setup provides stability, allowing the baby to remain upright without slumping. The white blanket ensures the background remains plain and consistent, preventing shadows or objects from appearing in the frame. Careful positioning is key, as it keeps the baby’s face clearly visible while meeting official passport photo guidelines.
Toddlers present a different challenge because they can sit or even stand but often have very little patience for staying still. For toddlers, a plain white chair against a white wall is ideal. This setup keeps the child in a stable position and ensures that their face is fully visible for the camera. The simplicity of the background allows the toddler’s features to be the main focus, while also preventing any items, furniture, or toys from interfering with the image.
Regardless of age, it’s important to keep the baby’s or toddler’s head as upright as possible. Slight tilts are generally acceptable, but extreme angles can lead to photo rejection. Patience is key—frequent small adjustments, gentle encouragement, and a calm environment make it much easier to position your little one correctly. With careful attention to posture and support, you can achieve a passport size photo that is both compliant and reflective of your child’s natural look.